Image Credit: Shutterstock

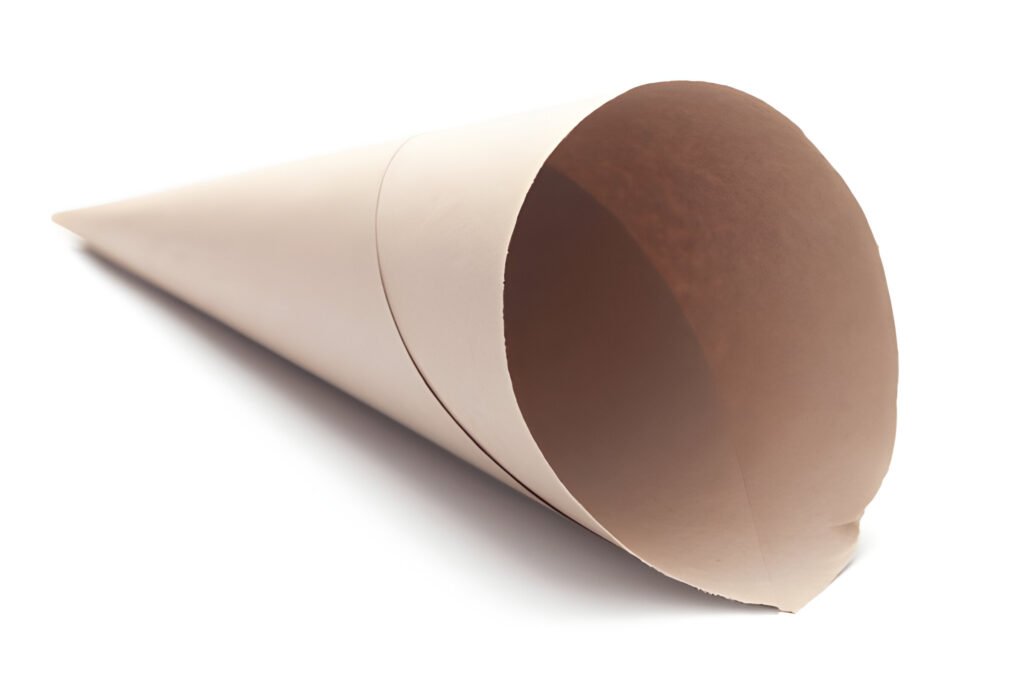
Paper cones are versatile and fun to make, with countless uses from party decorations to school projects. Learning how to make a cone out of paper is a simple yet rewarding craft that anyone can master with a few basic supplies. This step-by-step guide will walk you through the process, helping you create perfect paper cones in no time.
This article covers everything you need to know to make paper cones. We’ll start by listing the necessary materials, including construction paper, scissors, and a pencil. Then, we’ll dive into the disk method for creating cones, providing clear instructions for cutting, shaping, and securing your cone. By the end, you’ll have the skills to make cones from paper for various purposes and occasions.
Materials and Tools Needed
To make a cone out of paper, one needs a few basic supplies. These items are readily available and easy to use.
Paper Options
The choice of paper depends on the intended use of the cone. Construction paper is a popular option for its durability and variety of colors. For a sturdier cone, cardstock or thin cardboard can be used. Those looking for a more flexible option might consider felt or foam. Even thin plastic sheeting can work for certain projects.
Cutting Tools
Scissors are the most versatile tool for cutting paper and most other materials. For metal sheeting, metal snips are necessary. A circular cutting tool can be helpful for creating precise circles, especially when working with larger pieces of paper.
Adhesives
The type of glue used can significantly impact the strength and durability of the cone. For paper and cardstock, white PVA glue like Elmer’s or Aleene’s Tacky Glue is recommended. These glues dry quickly and provide a strong bond. For felt, foam, or plastic cones, hot glue is a better option. When working with metal, welding might be necessary for a permanent bond. It’s important to use glue sparingly; a small amount applied with a toothpick is often sufficient.
Also Read: how to pick a lock with a bobby pin
Creating a Cone Using the Disk Method
Cutting the Circle
To start, one needs to cut a disk or circle out of paper. The easiest method is to use a compass or trace a round object like a plate, bowl, or lid. For a 6-inch tall cone, a 12-inch plate works well. The circle can be drawn on various materials such as paper, cardstock, craft foam, or even thin metal sheeting. Precision is crucial, so extra effort should be put into making the circle as round as possible.
Removing a Wedge
After cutting out the circle, the next step is to remove a wedge. Draw a triangle wedge over 1/4 of the disk using a ruler and pencil. For a cone with a smaller bottom, cut out a larger triangle wedge. Use scissors or a precision knife to cut out the wedge as straight as possible. If any cutting mishaps occur, it’s best to start over.
Shaping the Cone
To shape the cone, bring the sides of the disk together. The longer side should line up with the top of the triangle. This alignment determines where to apply adhesive. It’s important not to make firm creases in the paper, as the cone should be rounded. If the sides don’t meet properly at first, unfurl the paper and try again.
Securing the Cone
For securing the cone, one straight piece of tape provides the best stability. Apply the tape while holding the shape of the cone with the other hand. Alternatively, use strong adhesive like red tape for a secure hold. Finally, add a ribbon by punching holes on both sides and tying a knot for a decorative touch.
Conclusion
Creating paper cones is a fun and easy craft that has a wide range of uses. From party decorations to school projects, these simple structures can be made with just a few basic supplies and some careful folding. The disk method outlined in this guide offers a straightforward approach to make cones of various sizes and materials, allowing for creativity and customization.
Whether you’re a beginner or an experienced crafter, mastering the art of cone-making can open up new possibilities for your projects. By following these steps and experimenting with different papers and decorations, you can create unique cones to suit any occasion. So grab some paper, scissors, and glue, and start crafting your own perfect paper cones today!
Also Read: How to pick a lock with a bobby pin
FAQs
1. How do you create a paper cone template?
To create a cone template, simply design the shape you need on paper, which can be adjusted for size and angle depending on the specific requirements of your project.
2. What are the steps to form a cone from regular paper?
To roll a cone from regular paper, follow these steps:
- Step One: Create a filter, also known as a crutch or tippy.
- Step Two: Place your desired material, like flower petals, inside.
- Step Three: Shape the cone by folding the excess paper over the filter to secure the contents.
- Step Four: Twist the open end of the cone and close it to finalize the shape.
3. How can you make a decorative sweet cone using paper?
To make a sweet cone from paper, follow these instructions:
- Cut an 18cm x 18cm square from colored tissue paper.
- Roll the square into a cone shape and secure it with narrow double-sided tape.
- Insert this cone into another paper cone for added stability.
- Fill the cone with popcorn, wrapped sweets, or any treat of your choice.
4. What is the process for making a cone hat from paper?
To craft a cone hat from paper, proceed with the following steps:
- Step 1: Draw a half-circle on construction paper using a compass or a pencil tied to a string for accuracy.
- Step 2: Cut out the half-circle.
- Step 3: Shape the cut-out into a cone.
- Step 4: Staple at the base to hold the shape.
- Step 5: Apply glue along the seams for additional security.
- Step 6: Press along the glued seams to ensure they bond well.
- Step 7: Remove the staple once the glue has dried.
- Step 8: Decorate the cone hat as desired.


