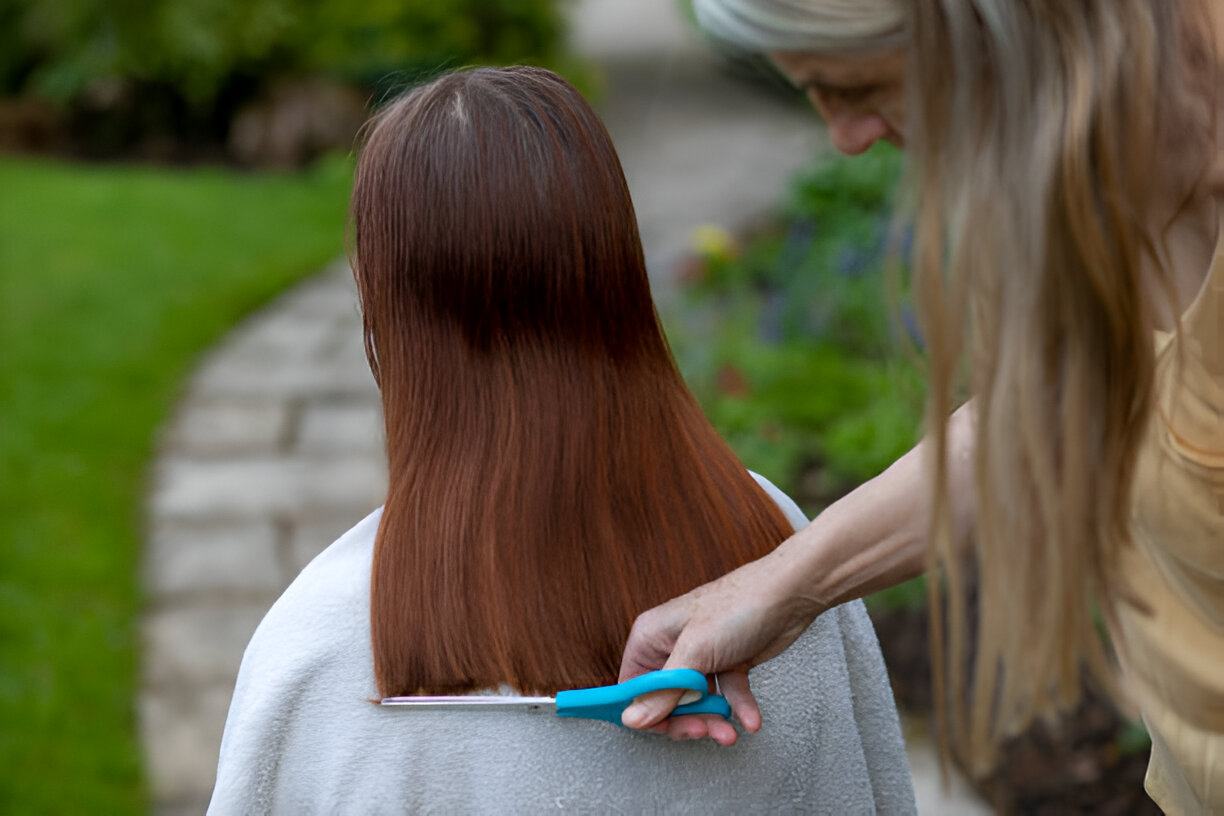
Cutting hair in layers is a popular styling technique that can add volume, texture, and movement to any hair type. Learning how to cut hair in layers step by step can save time and money while allowing individuals to achieve their desired look at home. This versatile method works well for various hair lengths and textures, making it a valuable skill for anyone interested in hair styling.
This guide will walk readers through the process of cutting layers, covering essential aspects of the technique. It will explain how to prepare for a DIY haircut, including selecting the right hair scissors and products. The article will then delve into sectioning hair properly, demonstrating cutting techniques for perfect layers, and providing tips on finishing touches and styling. By following these steps, readers will gain the knowledge and confidence to cut their own hair in layers, creating a fresh and personalized look.
Preparing for Your DIY Haircut
Before embarking on a DIY haircut, proper preparation is essential to achieve the best results. This section covers the key steps to take before cutting hair at home.
Choosing the right time
Selecting an appropriate time for a DIY haircut is crucial. It’s advisable to cut hair when it’s clean and free of tangles. For those with straight hair, combing out knots and tangles before cutting is sufficient. Individuals with curly hair have two options: they can either straighten their hair before cutting or let it dry naturally curly without brushing.
Gathering necessary tools
To ensure a successful DIY haircut, gathering the right tools is imperative. Essential items include:
- Sharp hair-cutting scissors
- Wide-toothed comb
- Hair clips or ties
- Multiple mirrors for viewing different angles
For those seeking precision, tools like the CreaClip can be helpful. This device, featured on ‘Shark Tank,’ has a built-in level to ensure straight cuts and retails for $39.99 on Amazon.
Wetting vs. dry cutting
The decision to cut hair wet or dry depends on the desired outcome and hair type. Dry cutting has several advantages:
- Better visibility of split ends
- More accurate length assessment, especially for curly hair
- Easier detection of damage or thinning areas
However, wet cutting can be beneficial for removing significant weight from thick, dense hair. Some stylists combine both methods, starting with a wet cut and refining with dry cutting techniques for precision and longevity of the haircut.
Sectioning Your Hair for Layers
Proper sectioning is crucial for achieving well-layered hair. This process involves dividing the hair into manageable sections to ensure even cutting and blending.
Creating a top section
To begin, one should part the hair down the center from the bridge of the nose to the crown. This initial step separates the left and right sides of the hair. Next, they should identify the high point of the head and create a horizontal line from this point to the hairline. This separates the front and back sections, ensuring that each section has the same density.
Dividing the back
For the back section, one should take a horizontal slice across the nape of the neck. This becomes the first section and determines the shortest layer length. It’s important to carefully consider how short one wants the layers to be before cutting. As one moves up the head, they should continue to take horizontal sections, always using the previously cut section as a guide.
Securing sections
To keep the sections organized, one should use hair clips or ties. They can create four quadrants by parting the hair down the middle and then from ear to ear. This method provides better control over the hair during the cutting process. It’s helpful to leave one section out initially, as this will be the starting point for cutting.
By following these sectioning techniques, one can create a solid foundation for cutting layers that add movement and volume to the hair while maintaining fullness at the ends.
Cutting Techniques for Perfect Layers
Starting with the top section
To begin cutting layers, one should start with the top section of the hair. The stylist takes a section no larger than a finger width and directs it 90 degrees straight out from the head. This results in a flat square layered section that runs from the top of the crown to the bottom of the nape. This first section becomes the guide for subsequent cuts.
The stylist continues taking sections, directing each one 90 degrees from the base and cutting straight out. They use a comb to help guide the cutting angle and elevation, maintaining both at 90 degrees. This process continues until reaching the curve of the head.
Working on the sides
When cutting the sides, the stylist initially approaches them as if creating long layers. They angle their hand but avoid cutting too much on the bottom part to prevent creating holes in the hair. This technique is particularly important because the sides are often naturally thinner.
For face-framing layers, the stylist pulls the hair down with tension. They aim to keep the shortest piece between the mouth and nose area. When pulling with tension, it’s advisable to cut slightly longer than desired, as the hair will shrink up when tension is released.
Blending the back
For the back section, the stylist continues the layering process, directing all new sections back to the curve of the head. This technique creates corners in the shape, resulting in a square layer shape. To ensure evenness, they cross-check by taking horizontal sections and directing each one straight out at 90 degrees.
To blend the top with the back, the stylist takes a piece from the back and ensures that all the short hair previously cut falls out of this section. They cut vertically towards the face for the connection. Once complete, they move on to work through the top, holding everything straight up from the head and cutting horizontally towards the face.
Finishing Touches and Styling
Evening out the layers
To ensure a well-balanced layered haircut, it’s crucial to check for evenness. One can comb the hair straight up and examine it for balance. If there are noticeable differences in length, it’s necessary to trim the longer sections to match the shortest layer. This process involves combing each section upward, identifying the guide (previously cut hair), and cutting across to maintain consistency.
For the corners and sides of the head, the technique slightly differs. Instead of combing straight up, one should follow the natural growth pattern of the hair. This approach helps connect the top layers to the corners and sides seamlessly.
Texturizing the ends
Texturizing is an essential step in refining layered hair. It helps to soften harsh lines and create a more natural, blended look. Using texturizing shears is an effective method for this purpose. When texturizing, it’s important to focus on the last half-inch of the hair to avoid thinning out the overall structure.
To texturize effectively:
- Identify any visible lines or blunt edges in the hair.
- Use texturizing shears to gently cut into these areas, breaking up the ends.
- Avoid texturizing too close to the scalp to prevent thinning the hair shaft.
Styling your new layers
Layered hair offers versatility in styling. Here are some techniques to enhance the layers:
- For added volume, create loose waves using a curling wand. This technique accentuates the different lengths of the layers.
- Try a half-up, half-down style to showcase the layers, especially with side-swept bangs.
- When straightening, curl the ends slightly inward to make the layers more noticeable.
Products can significantly enhance layered hairstyles. Texture sprays or anti-frizz products can help define the layers and control any unwanted frizz. For a smooth, silky finish, maintain some motion while blow-drying the hair. This creates an airy, fluffy look without frizz.
Conclusion
Mastering the art of cutting hair in layers offers a multitude of benefits for those willing to take on this DIY challenge. The process, from preparation to finishing touches, equips individuals with the skills to create personalized, voluminous hairstyles at home. By following the steps outlined in this guide, readers can gain confidence in their ability to section, cut, and style layered hair effectively.
The techniques discussed not only have an impact on personal grooming routines but also provide opportunities to explore creativity in hair styling. With practice and patience, anyone can develop the expertise to cut layers that complement their face shape and hair texture. This newfound skill opens doors to experiment with various styles, leading to enhanced self-expression and potentially significant savings on professional haircuts.
FAQs
1. What techniques should be used to layer hair?
To effectively layer hair, employ three distinct cutting angles: slide the hair towards your body, cut at a 45° angle from the crown, and at a 90° angle towards the top. Repeat this technique for each section, continuing along the sides to ensure even layers.
2. What constitutes a basic layered haircut?
A basic layered haircut involves varying lengths of hair to create an illusion of both length and volume. This style utilizes longer hair to appear lengthier and shorter hair to provide volume, making it relatively easy to maintain.
3. How does a step haircut differ from a layer haircut?
The main difference between a step haircut and a layer haircut lies in the visibility and style of the cuts. Step cuts feature distinct, defined layers that create a bold and edgy appearance, whereas layer cuts are designed to blend seamlessly into your natural hair, enhancing its overall look without obvious steps.
4. How can you cut a woman’s hair in layers?
To cut a woman’s hair in layers, section the hair and determine the desired length of each layer. Use techniques such as angle cutting at 45° and 90° to create soft, blended layers that frame the face and add volume where needed. Work systematically around the head to ensure evenness and balance in the layering.


