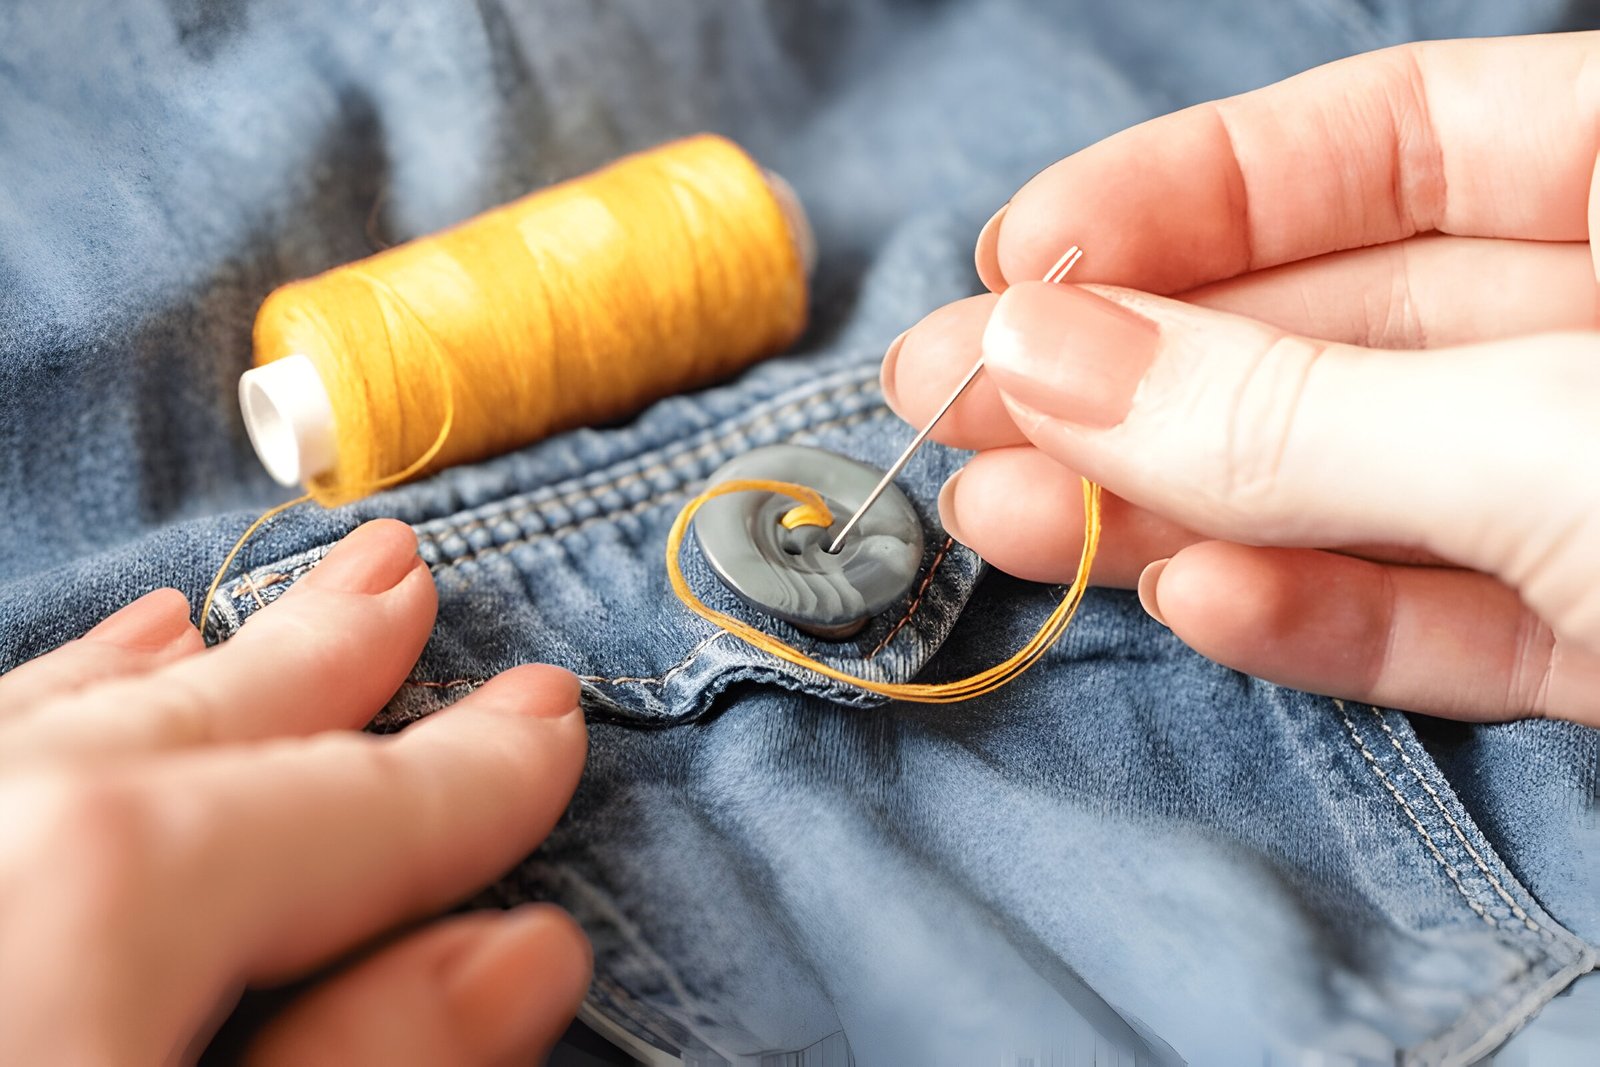
Losing a button on your pants can be a frustrating experience, but knowing how to sew a button on pants is a valuable skill that can save you time and money. Whether you’re dealing with dress pants or everyday trousers, this simple repair can extend the life of your favorite garments. Learning how to sew a button on pants sewing technique allows you to fix loose or missing buttons quickly, keeping your pants functional and presentable.
This guide will walk you through the process of sewing a button on pants, step by step. We’ll cover everything you need to know, from gathering the necessary supplies like scissors and a sewing needle, to preparing the fabric and securing the button in place. By the end of this tutorial, you’ll have the knowledge to tackle this common clothing repair with confidence, whether you’re using a sewing machine or sewing by hand.
Gathering Your Supplies
Essential Tools
To sew a button on pants, one needs to gather a few essential tools. These include:
- A matching button (preferably the original or one that fits snugly through the buttonhole)
- Thread (matching the previous thread, the button, or any color of choice)
- A standard sewing needle from a basic needle package
- Small scissors
- A toothpick or another needle
- The pants that need the button
For beginners, it’s helpful to have a basic sewing kit with these supplies. Additionally, having a thimble can be useful for pushing the needle through thick fabric.
Choosing the Right Thread and Button
Selecting the appropriate thread and button is crucial for a successful repair. Here are some tips:
- Thread Selection:
- For most projects, Gutermann Sew-All thread (100% polyester) is a popular choice due to its strength and versatility.
- Cotton thread is ideal for natural fibers and provides a lustrous appearance.
- For heavy-duty repairs, consider using button thread, which is thicker and stronger than regular thread.
- Thread Color:
- Choose a shade slightly darker than the fabric for most cases.
- For pale or lightweight fabrics, lighter thread colors tend to blend better.
- To make the best choice, unroll a few inches of different threads and lay them on the fabric in natural light.
- Button Selection:
- If the original button is unavailable, find one that fits snugly through the buttonhole.
- For added security, consider using a button backing on the inside of the pants.
- Special Considerations:
- For buttons that will endure heavy use, a small button on the opposite side of the fabric can help keep the external button in place.
- Upholstery thread is suitable for outdoor projects due to its rot-resistant properties.
- Invisible thread can be used for quick repairs where the stitching should not be visible.
By carefully selecting the right tools, thread, and button, one can ensure a durable and professional-looking repair.
Preparing to Sew
Marking the Button Placement
Before sewing a button on pants, it’s crucial to mark the correct placement. Traditionally, women’s clothing has buttons on the left placket, while men’s clothing has them on the right. However, this tradition stems from a time when buttons were expensive and only wealthy individuals had them on their clothes. Today, one can choose the placket that looks best.
For the top button, it’s customary to place it horizontally in the collar stand, while the buttons on the button band are typically vertical. However, for those with a fuller bust, horizontal buttons all the way down the button band can prevent gaping. When marking button placements, it’s essential to:
- Measure from the center of one buttonhole to the center of the next.
- Use chalk or pins to mark the positions.
- Try on the garment to ensure proper placement.
- Adjust as needed for the best fit and appearance.
A helpful tool for marking button placements is an extendable button gage. This device allows for perfectly spaced buttonholes every time. Alternatively, one can use the existing buttonholes as a guide by lining up the placket and placing pins through the buttonholes into the opposite placket.
ALSO READ:How to Tell if a Girl Likes You: Top 10 Signs to Watch
Threading the Needle
Once the button placement is marked, the next step is to prepare the thread and needle. Here’s how to thread the needle effectively:
- Choose a thread color that matches the fabric or is slightly darker for better blending.
- Cut a length of thread about 24 inches long.
- Thread the needle using one of two methods: a. Single thread: Pull the thread through the needle’s eye, leaving a long tail. b. Double thread: Pull the thread through so that equal lengths extend from both sides of the needle’s eye.
- Tie a knot at the end of the thread. One method is to wrap the thread around your finger, roll it between your fingers, and pull it tight.
- If using doubled thread, tie the ends together, leaving a long tail.
By following these steps for marking button placement and threading the needle, one can ensure a professional-looking button repair on pants or any other garment.
Sewing the Button
Creating the Initial Stitches
To begin sewing the button, one should first locate the marked spot on the pants. Starting from the backside of the garment, the needle should be brought up through the fabric. It’s advisable to make two or three anchor stitches in the area where the button will be placed to secure the thread.
For added durability, especially for buttons that will endure heavy use, a small button can be placed on the inside of the garment. This backing button helps protect the fabric fibers from wear and tear. After placing the backing button, one anchor stitch should be made to secure it in place.
Forming the Shank
Next, the main button should be positioned on the outside of the garment. To accommodate for the thickness of the fabric, it’s crucial to create space behind the button. This can be achieved by placing a toothpick or a spare needle between the button and the fabric while sewing.
The needle should be brought up through one hole of the button and down through the opposite hole, repeating this process at least four times. For buttons with four holes, this step should be repeated using the other pair of holes. It’s important to keep the thread taut but not too tight, maintaining a balance that allows for proper button function.
Securing the Button
After completing the main stitches, the next step is to create a shank. This is done by bringing the needle up between the button and the fabric, then wrapping the thread around the stitches holding the button in place. This wrapping should be done a few times to provide extra strength and stability to the button attachment.
To finish, the needle should be taken to the inside of the pants, close to where the button was attached. On the backside, a small ‘bite’ of fabric should be taken near the button attachment point. The thread should be pulled halfway through, creating a loop. The needle should then be passed through this loop and pulled tight, forming a knot. This process should be repeated two to three times to ensure the button is securely fastened.
Finally, the excess thread should be carefully trimmed, leaving a small tail to prevent accidental unraveling. This method ensures a strong, durable button attachment that can withstand the rigors of daily wear.
Finishing Touches
Sewing a button on pants is a handy skill that can save you time and money. By following the steps outlined in this guide, you’ll be able to tackle this common clothing repair with ease. From gathering the right supplies to creating a secure shank, each step plays a crucial role in ensuring a long-lasting button attachment.
This simple repair not only extends the life of your favorite garments but also gives you a sense of accomplishment. Whether you’re fixing a loose button or replacing a lost one, the techniques described here will help you maintain your pants in top condition. So next time you face a button-related wardrobe malfunction, you’ll have the know-how to fix it quickly and effectively.
FAQs
1. What are the detailed steps to sew a button by hand?
To sew a button by hand like a professional, follow these steps:
- Step 1: Cut a length of thread.
- Step 2: Fold the thread in half.
- Step 3: Thread your needle with the folded thread.
- Step 4: Tie a knot at the end of the thread.
- Step 5: Start by piercing the fabric from the backside.
- Step 6: Push the needle through one of the buttonholes.
- Step 7: Re-enter the fabric, pulling the thread tight.
- Step 8: Push the needle back up and through another hole on the button, repeating the process to secure the button.
2. How can I reattach a button to my pants?
To reattach a button to your pants, you will need a needle and thread. Start by threading the needle and tying a knot at the end of the thread. Position the button where you want it on the pants and use the needle to pass through the fabric and the holes of the button several times to secure it. Finish by tying off the thread on the backside of the fabric to ensure the button stays in place.
3. What is the best way to ensure a button is securely attached?
To ensure a button is securely attached, use a strong thread and make several passes through the buttonholes and the fabric. It’s also helpful to start and finish with a knot on the underside of the fabric to prevent the thread from unraveling. Additionally, consider using a locking stitch or a shank (a thread wrapped around the stitches between the button and fabric) to provide extra space and reduce stress on the thread.
4. How do you sew on a button to ensure it doesn’t come off?
To sew a button on so that it doesn’t come off, make sure to use a durable thread and double it for extra strength. Begin by knotting the thread and then pass through the fabric and the buttonholes multiple times. Secure each pass with a small backstitch to lock the thread in place. Finally, finish with a strong knot hidden on the underside of the fabric to prevent the button from loosening.
ALSO READ:How to Tell if a Girl Likes You: Top 10 Signs to Watch


